CDN Caching for Screenshot API
To reduce latency and offload your backend, it’s recommended to serve screenshot responses through a Content Delivery Network (CDN).
This guide explains how to configure a CDN to cache responses from your /api/screenshots endpoint, using BunnyCDN as an example.
🚀 Overview: How CDN Screenshot Caching Works
-
The frontend requests a screenshot via a CDN-backed URL:
https://cdn.example.net/api/screenshots/<screenshot_id> -
The CDN checks its cache:
- If cached: The image is served immediately from the edge.
- If not cached: The CDN fetches it from your origin (the API), caches it, and then serves the response.
This approach greatly improves image delivery times and reduces backend load.
⚙️ Step 1: Expose the Screenshot API
Ensure your API serves screenshot images publicly at:
https://yourdomain.com/api/screenshots/<screenshot_id>
Requirements:
- Serve correct headers:
Content-Type: image/jpeg - Responses must be cacheable:
- Status:
200 OK - Avoid headers like
Cache-Control: no-store
- Status:
Example of headers you can find here.
🌐 Step 2: Configure Your CDN (Using BunnyCDN)
While this works with any CDN provider (Cloudflare, Fastly, etc.), here’s how to set it up with BunnyCDN:
🐰 Create a Pull Zone
- Visit bunny.net
- Go to Pull Zones → Add Pull Zone
- Configure:
- Name:
screenshots - Origin URL:
https://yourdomain.com/api/screenshots - BunnyCDN will generate a CDN endpoint like:
https://your-zone.b-cdn.net
💡 Optional: You can configure a custom domain (e.g., cdn.yourdomain.com) using a CNAME.
⚠️ Important: Configure "Query String Vary Parameters" To ensure the CDN serves updated screenshots when content changes, configure Query String Vary Parameters in your BunnyCDN Pull Zone settings.
Add the parameter: t
This t parameter represents a timestamp appended to the screenshot URL whenever the image is updated.
Example:
https://your-zone.b-cdn.net/api/screenshots/1234?t=1723382100
When t changes, the CDN treats it as a new file and fetches the latest version from your origin instead of serving the cached copy.
🖼️ Step 3: Update Editor screenshotUrl config key to Use CDN URLs
Replace direct API URLs with your CDN endpoint to leverage caching.
// Example configuration

const config = {
  // ... other keys
  api: {
    // ... other keys
    screenshots: {
      // ... other keys
      screenshotUrl: "https://your-zone.b-cdn.net/",
    },
  },
};
The CDN will automatically cache the screenshot on first access and serve it from the cache on subsequent requests.
For more config details, check screenshot configuration docs
🧪 Optional: Testing with ngrok in Local Development
You can simulate CDN caching locally by exposing your dev API using ngrok.
1. Install ngrok
npm install -g ngrok
# or download manually from https://ngrok.com/download
2. Authenticate ngrok
Get your token from the ngrok dashboard and set it up:
ngrok config add-authtoken YOUR_AUTHTOKEN
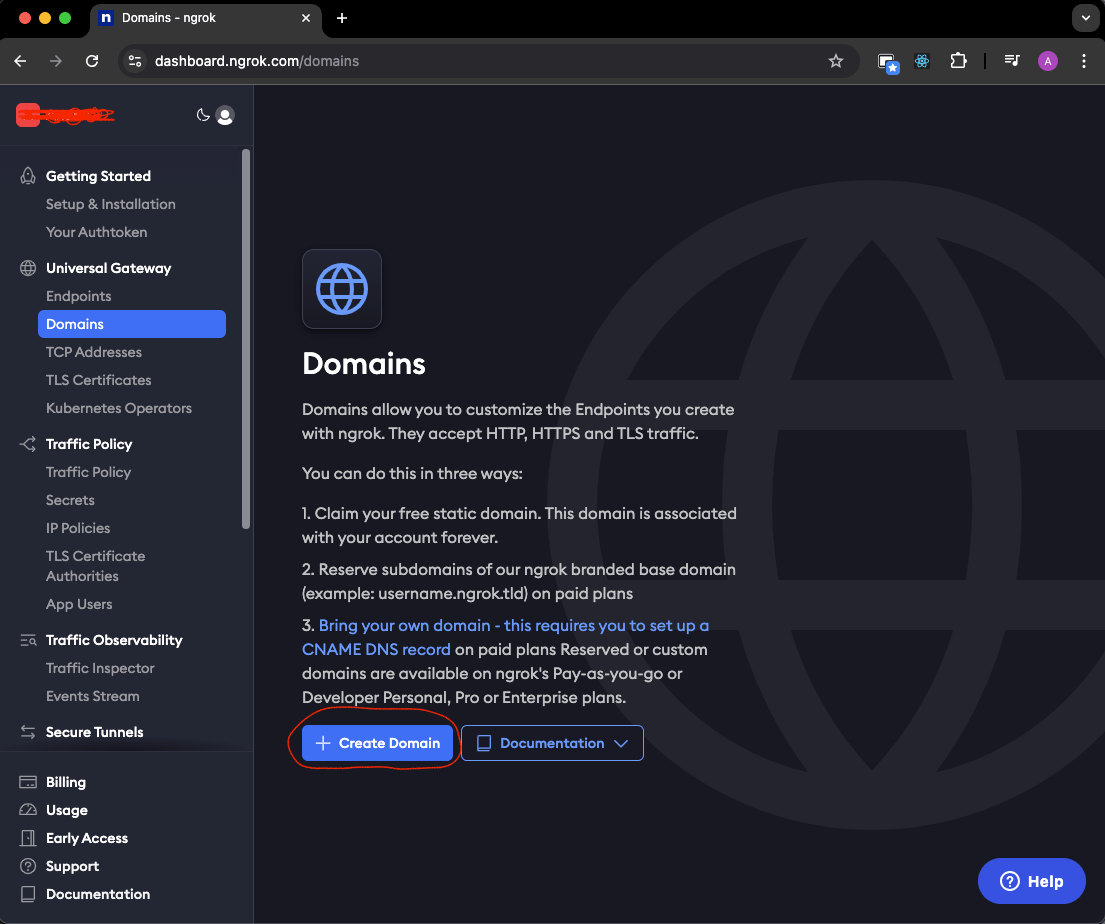
3. Reserve a Static Domain (Optional)
Avoid changing URLs between sessions by reserving a static domain:
- In ngrok dashboard → Domains → Create Domain
- Copy the assigned domain, e.g.:
https://seasnail-cheerful-sincerely.ngrok-free.app
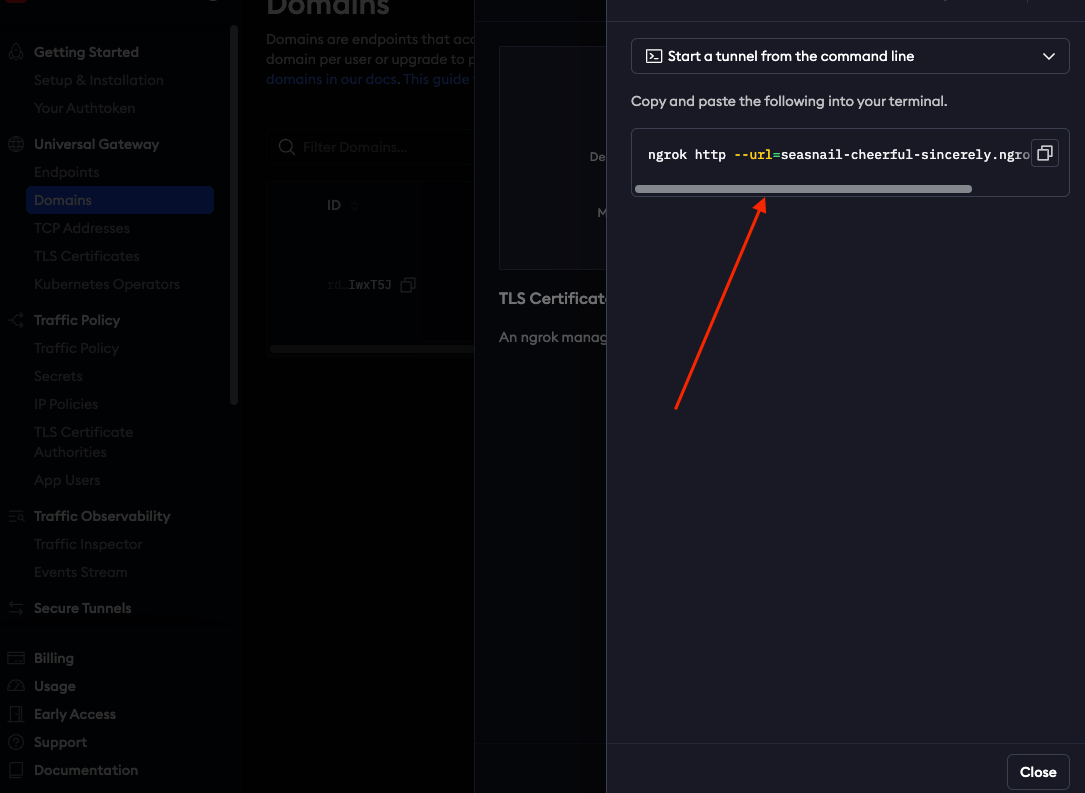
4. Start the Tunnel
Expose your local server (e.g., on port 3000) with a clean URL:
ngrok http --url=seasnail-cheerful-sincerely.ngrok-free.app 3000 --request-header-remove ngrok-skip-browser-warning
Resulting in a public endpoint like:
https://seasnail-cheerful-sincerely.ngrok-free.app/
5. Use ngrok as CDN Origin (for Testing)
Update your CDN Pull Zone temporarily:
- Origin URL:
https://seasnail-cheerful-sincerely.ngrok-free.app/api/screenshots - CDN Endpoint:
https://your-zone.b-cdn.net
This setup allows you to test caching behavior exactly as it works in production.
✅ Summary
- CDN caching boosts screenshot delivery speed and lowers backend usage.
- Your screenshot API must be publicly accessible and return cacheable image responses.
- Configure any CDN with a pull zone targeting your
/api/screenshotsendpoint. - For local testing, ngrok provides a reliable public origin for your development server.